Our projects vary from time to time. A lot of the canvases that I've posted have been a result of a craft night. This time, our project was inspired by Michaels, the craft store. My best friend was there and saw some cute wooden frames and little wooden shapes that you can pick out and paint and glue on. So that's what we did....
Or rather, that's what they did. I did a box. Because once I got to Michaels and was looking around, I saw this cute little box and instantly had a cute design in my mind for it, and since I already had several picture frames at home that I had yet complete, I thought it was more rational to buy the box than another picture frame.
This is a simple, fun, cheap craft night. Frames are only $1 to $3. My box was $3 I think. Michaels offers a variety of wooden things to choose from, ranging in prices too.
The little wooden pieces to add on are anywhere from about 29 cents to 99 cents. The plain wooden ones are less than the ones that already come painted (like my Ship Wheel).
Then all you need are some paints (If you don't have any, Michaels also has cheap 79 cent Craft Smart acrylic paints), paint brushes, and glue. We tried hot glue first but the wooden pieces weren't sticking, so we switched to Tacky Glue and it worked perfectly!!
Here are out finished products!!

Actually in this picture, my box isn't finished because a box like that takes A LOT longer to paint than a picture frame. So I actually had to finish mine later because we ran out of time. Here is what mine really looked like when I finished.

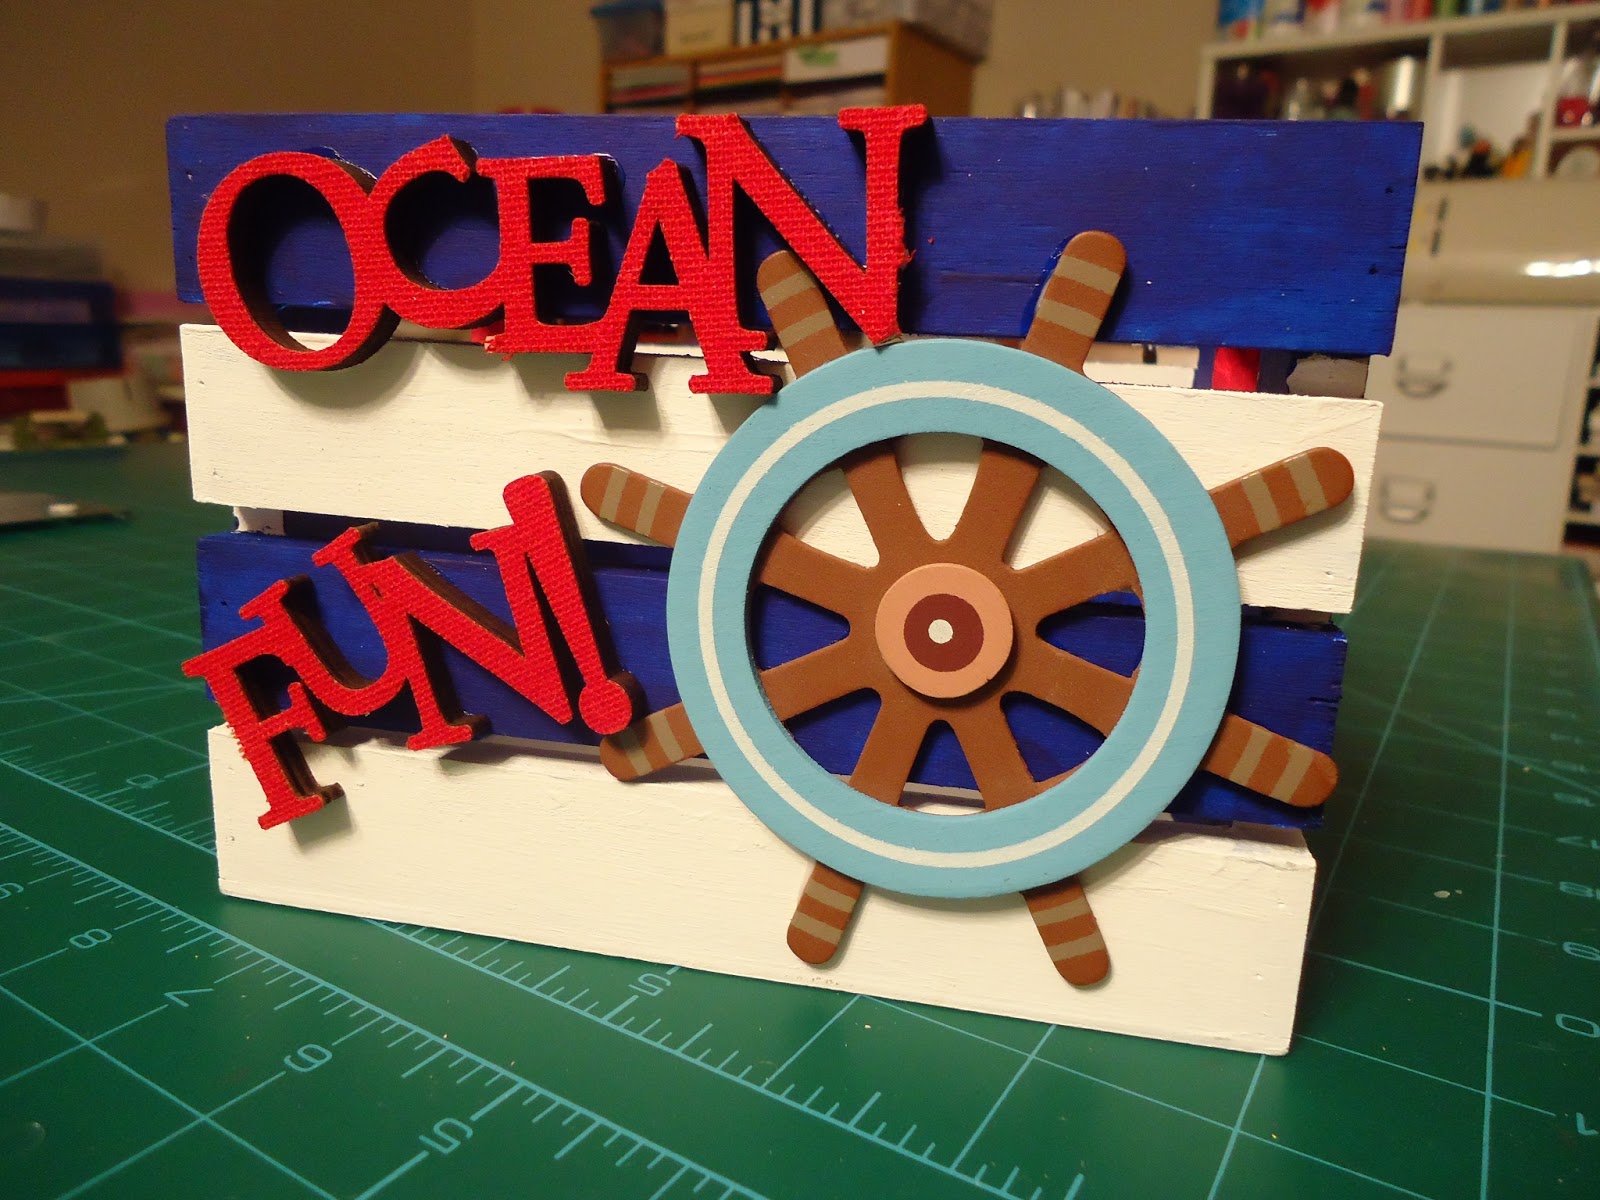


I'm planning of adding a location and date onto this tag later. I want to go on a beach trip this summer and collect some shells and things to put in this box and turn it into a keep sake of the trip. Maybe even make some sea shell picture holders that I got this idea for. If I do, I'm sure I'll make another post about it so you know what I mean.

Corner view.

Can't forget to paint the insides.... so tedious!!!


No comments:
Post a Comment