And I got to contribute my own little something to the tables, napkin rings!! Here's how!
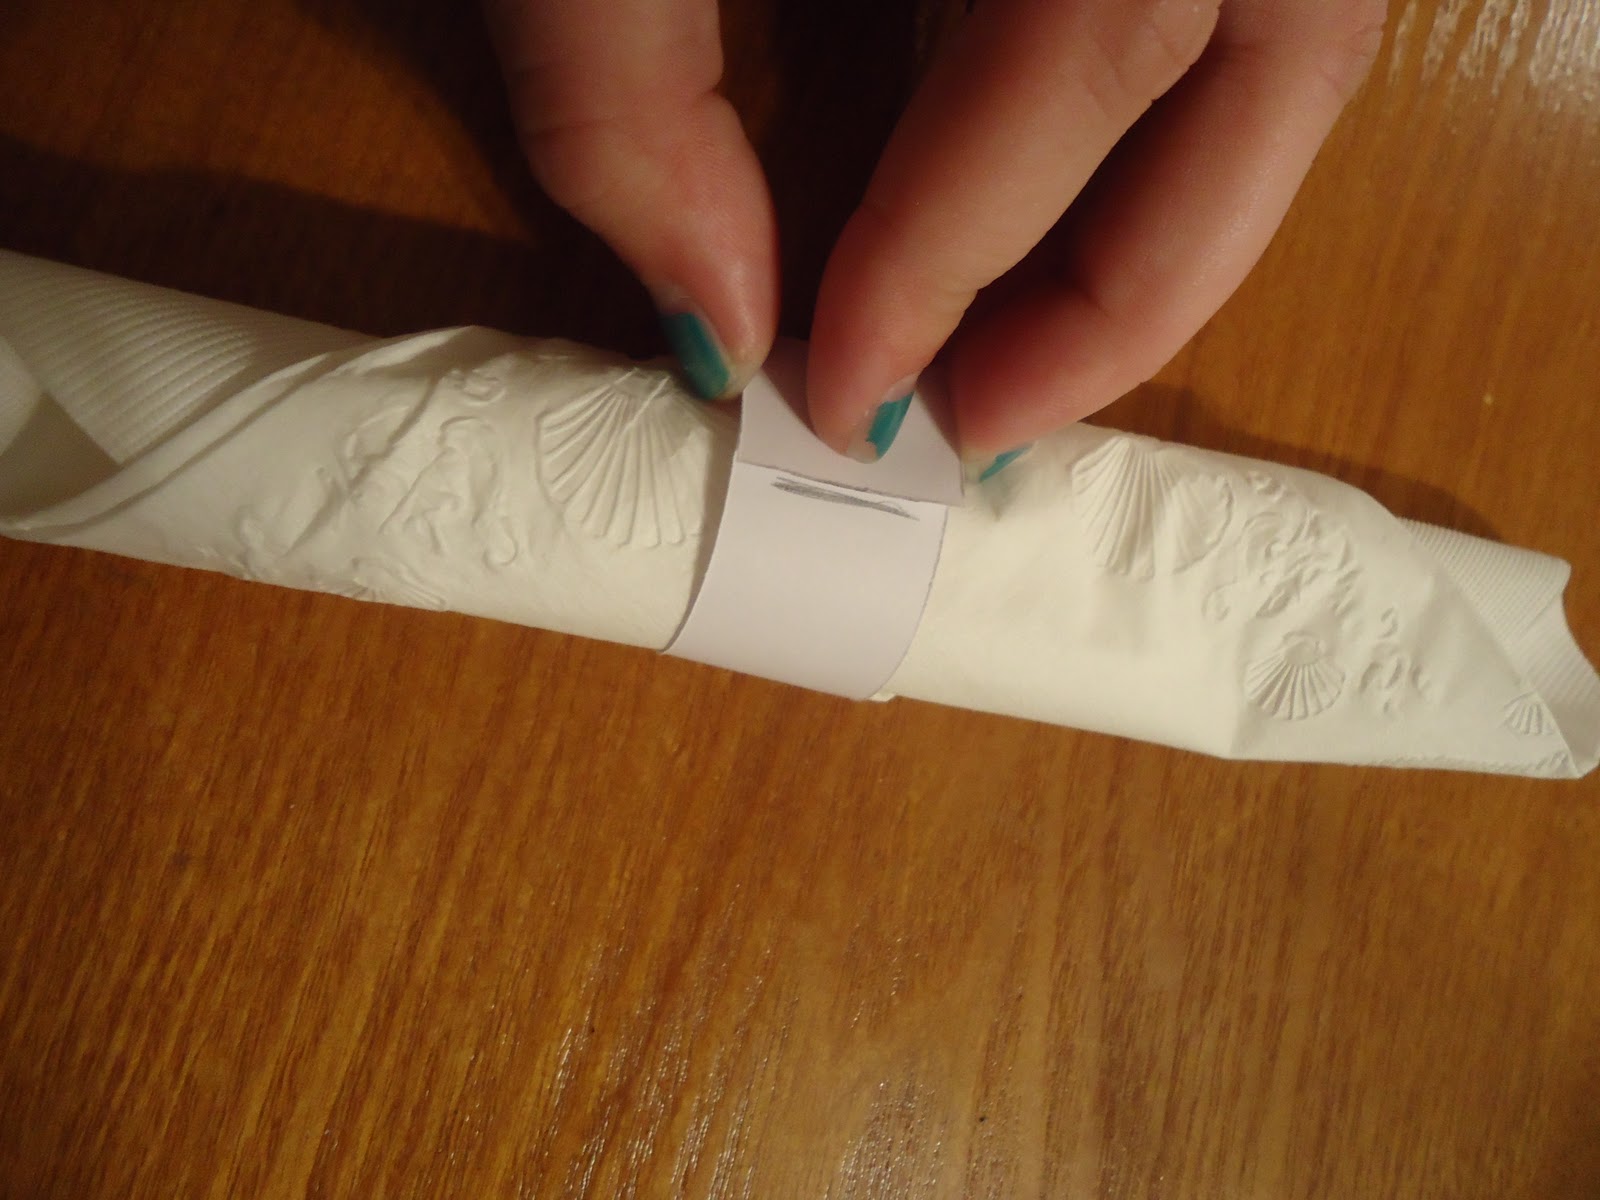
First choose the paper that you want to use for the band. I cut mine to 6" long. If you have a very big napkin or are planning to put the silver ware in them, then you might need to make the band bigger.
I used a paper cutter to make the edges straight. And they are just barely over 1" wide. Again, if you have a bigger napkin, then you might need to make them wider or longer.


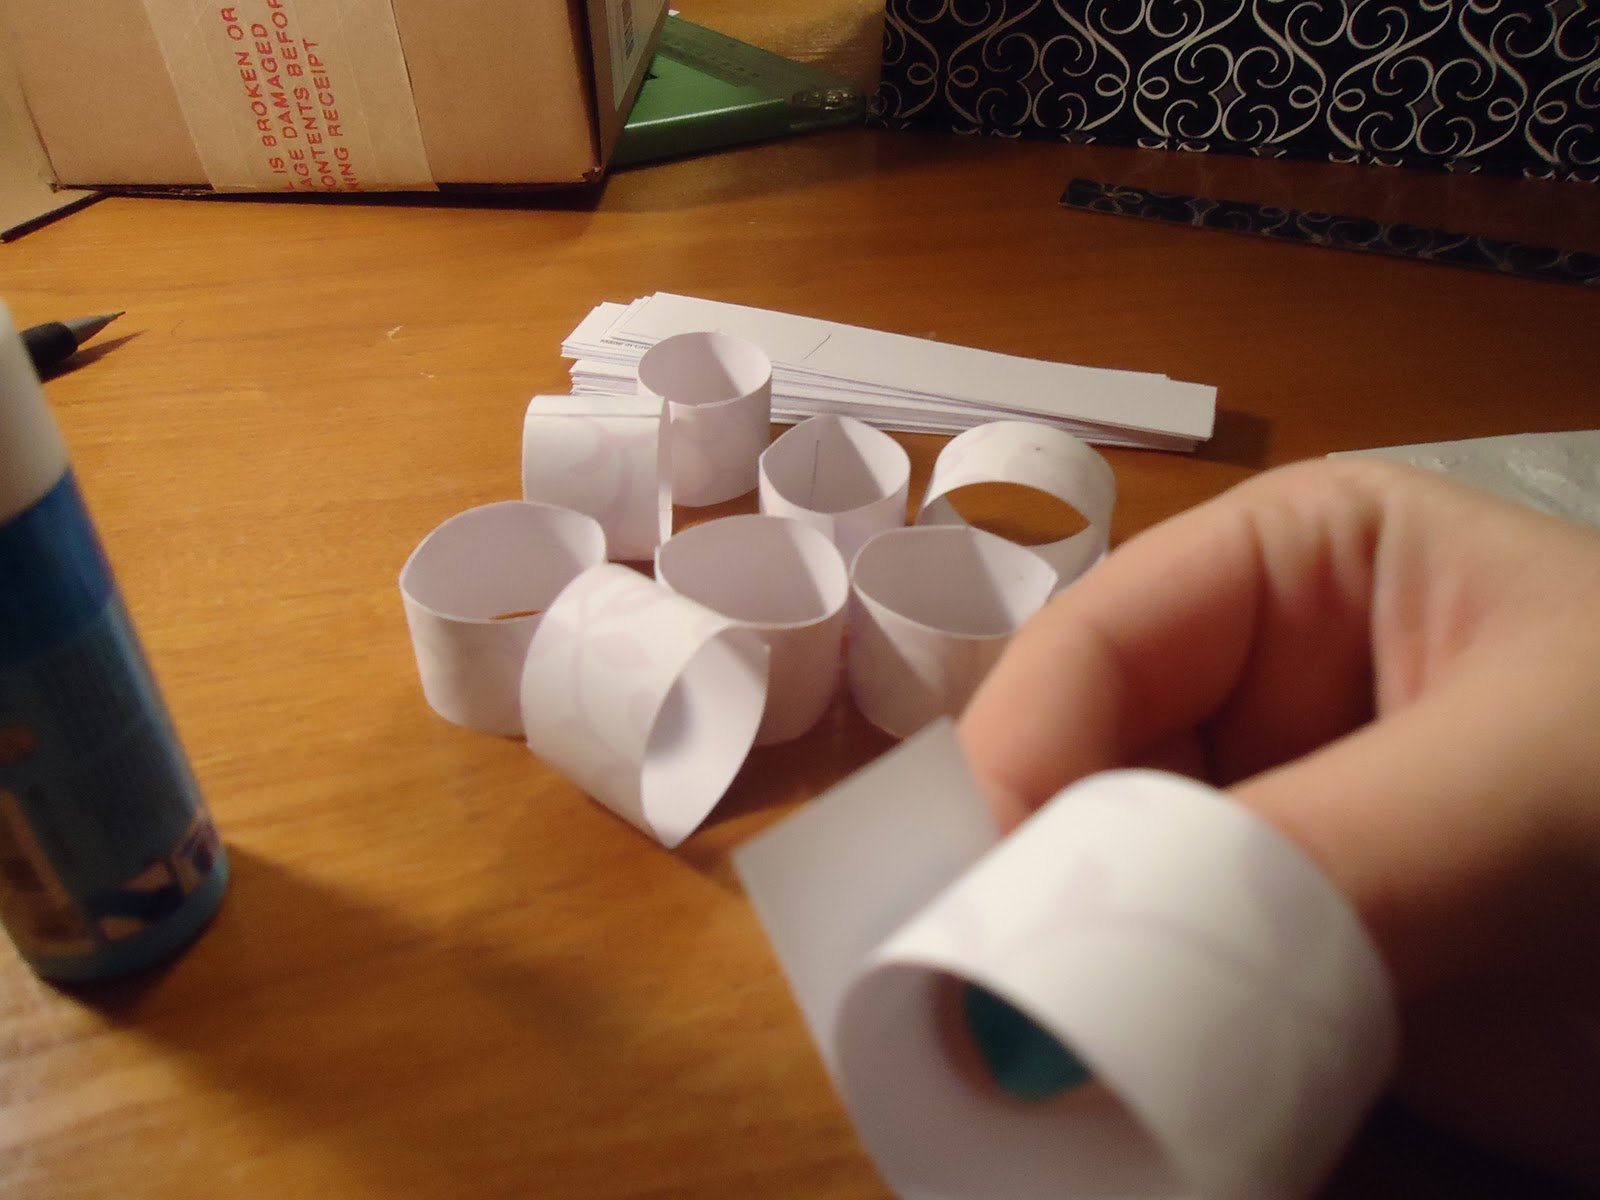

I used my Cricut and cut out the purple heart from the Wedding/Marriage cartridge. I just cut out the same one for all 45 rings. If I were doing fewer or if I had more time to make them, I would have chosen several different images to use just to add some variety. But I was in a rush on time so it was easiest to just do them all the same....
I also used my Gypsy, so that I could move them closer to each other and not have to waste paper. Then I glued each one onto white paper and cut it out. Then I glued the square to the ring.
Make sure that you put the image on the seam so that you cover it up. :)
Here is the finished project. I hope you like it. There is also a picture of the finished product at the rehearsal dinner so you can see how it looks even in a more fancy setting. I wasn't sure how a paper napkin ring would look for a semi-formal dinner, but it actually looked pretty good I think.


Hope you like it! Let me know what you think!!
--Kelsey S.
No comments:
Post a Comment