These are book marks that you slip on the corner of the page of a book. You can make them, cute, pretty, plain, simple, or however you want. I've made 5 so far, and I'm not done, because I'm making several for my friends, mom, and grandmother, who all love to read.
I'll show you how to make just a simple patterned one, and then you can embellish and decorate and design it up however you want.
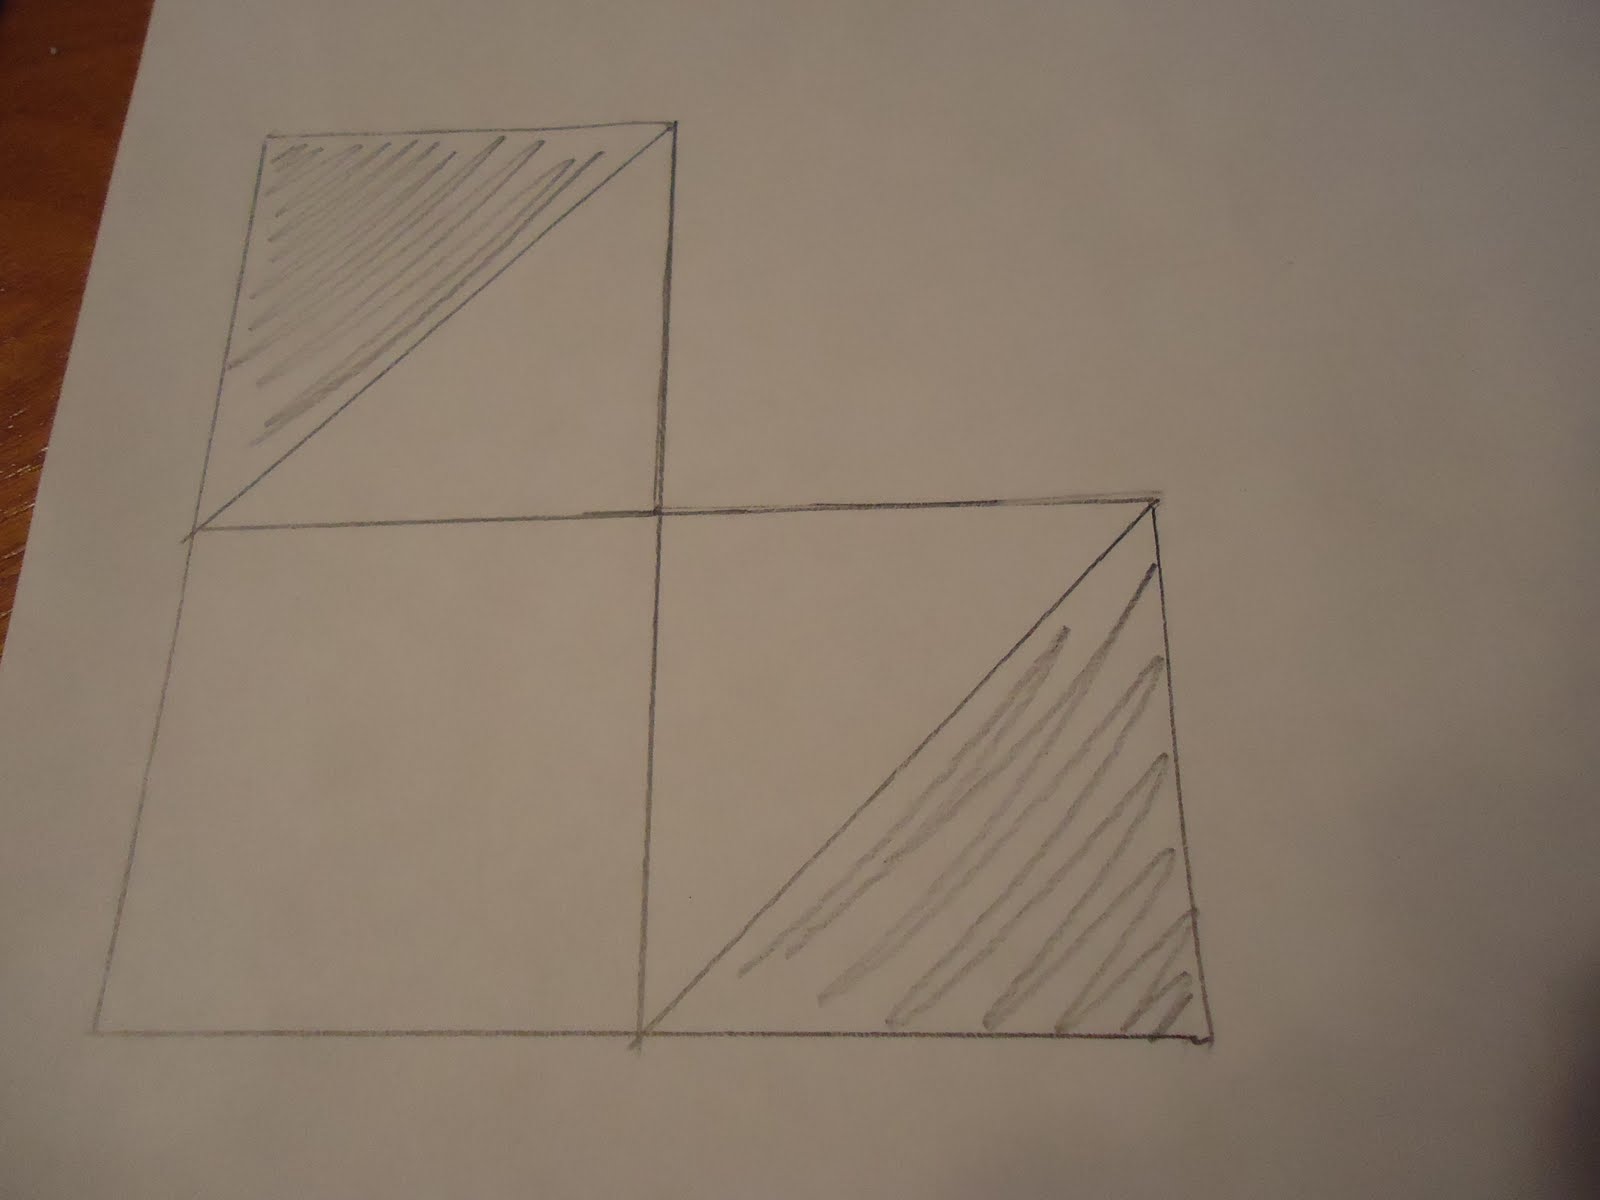
Step 1: First you need to draw a square. Then draw another identical square sitting directly on top of that one, and then another one sitting directly on the side of the first one, so that they form a L shape, like the picture below. Mine are 2 1/4" squares.

Step 2: Divide the 2nd and 3rd squares diagonally, as shown below. Be as precise as possible. Shade in the corresponding area if needed. These are the areas we don't need. Cut the shape out, cutting off the shaded areas.
Step 3: Trace the shape onto the paper you want to use as the base for your book mark. I'm using grey, because I'm using a color scheme of my friend's favorite colors.

Make sure you score off both triangles.

Step 5: Fold the triangles so they overlap, and glue the top triangle to the bottom triangle. If you want to add a color or pattern underneath, apply it before you glue the triangles down.

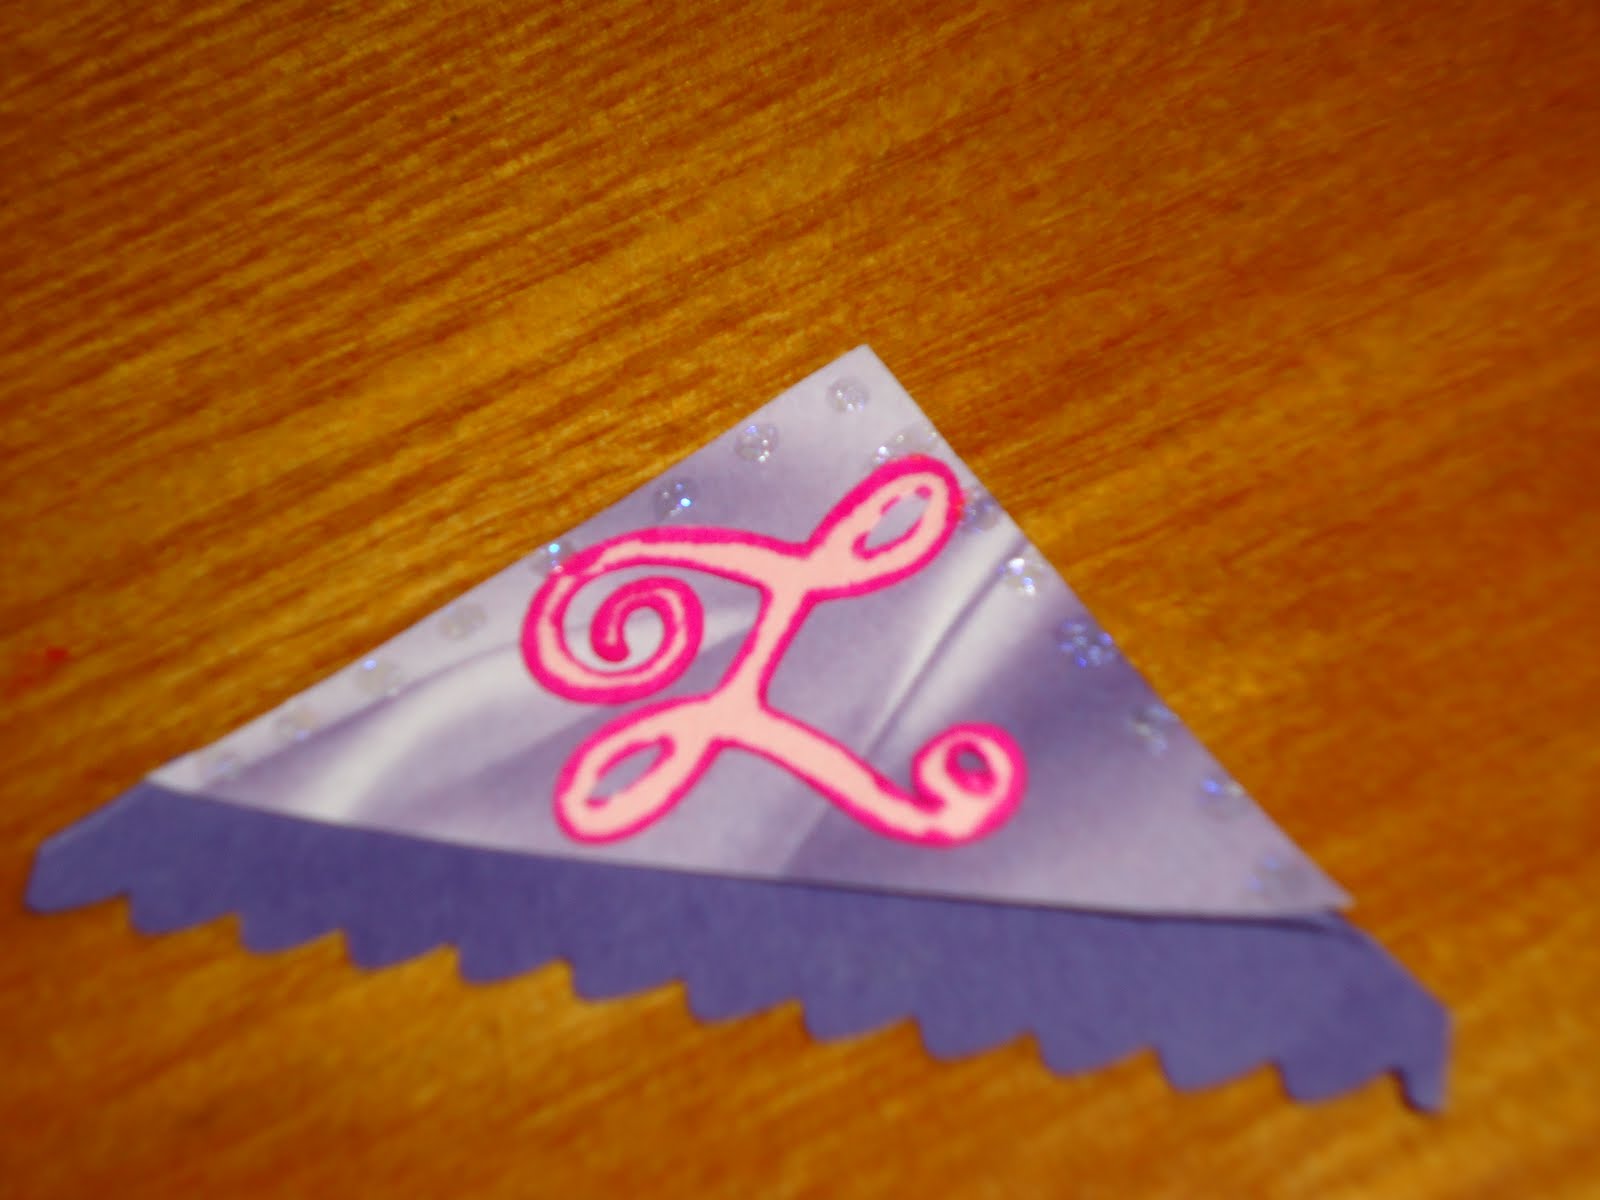
Step 6: Decorate however you want. Here is a picture of a few that I have made. 2 simple ones, and 2 monsters.

 Here is another that uses a slightly different pattern.
To get the pattern for this one, follow Steps 1 & 2 from above. The follow the following steps.
Step 3: Divide the 3rd square in half, then draw another line about a 1/2 inch below that line.

Step 4: Erase the middle line and extend the straight lines to square off the corners, like below. Shade the triangle if you want, since you won't need it.

Step 5: Cut out the shape, and cut off the shaded regions. Trace the shape onto your paper, and make marks where the little triangles meet the big triangle. Extend the mark to the inside of the shape so you can still see them once you cut it out.

Step 6: Score the paper, separating the triangles from the square. Use the marks you made as a guide.

Follow Steps 5 & 6 from above to fold and decorate.
OMG! these are adorable! i featured them today over at...
ReplyDeletehttp://thepinkinkdoodle.blogspot.com/
thank you for sharing!
They are adorable!! Thanks for linking up at the Sassy Sites Free For All party! When you get a chance, come back by and see what we've done for the American Crafter's competition... and maybe vote for us too! *wink*
ReplyDeletexoxo!
Marni @ Sassy Sites!