Showing posts with label scrapbooking. Show all posts

Tuesday, March 4, 2014

Gift for Grandma - Count Your Blessings

This craft was inspired by a project I saw somewhere else. I adapted it to the materials I had on hand and what I could get easily or affordable. This is a failry simple gift to make that is perfect for mom's and grandma's. A mother's most joyous blessing is her children, and this gives her a way to proudly show off just how many she has.

I made two of these. One for my mom when she got her first grandchild, and one for my Meemaw. It's a home made pallet wood frame that my dad helped me make. It has routed edges to dress it up a little, and I stained it.

And then, this is where you can tell I'm a broke college kid. I took a cereal box and cut out the wide side panels, one for each frame, large enough to cover the opening of the frame. I then chose my scrapbook paper and glued it to the cereal box, and then I hot glued the cereal box to the back of the frame. So fancy. Just don't look at the back, haha.

I used my Cricut to cut out my words, and some glitter glue to dress it up. I purchased some chalkboard vinyl with an adhesive backing for the 3 panels. I purchased a box of chalk, and fashioned a chalk holder with a piece of paper and magnet to attach it to the back of the frame to always have chalk nearby.

 Then I just went to Michael's to get some plate stands to display it!


 Here is a picture of the cereal box backing. Obviously the printed side is on the inside, covered up by the scrapbook paper. And the black square is the magnet where the chalk attaches.

Friday, May 17, 2013

Me & My Sister

A Scrapbooking Contest with a color scheme.

So I have these pictures that my sister and I got from a photo booth a couple years ago, and I've just never got around to doing anything with them. So I decided to enter the May challenge/contest over at the Sketch With Color blog, which you have to make a layout using the sketch they give you and use only the colors from the color palette. My original plan was to do a lay out with a couple softball pictures I have, but the color scheme didn't work AT ALL with my pictures /theme. SO... as i was looking through my stuff, I found these pictures, and as soon as I saw them, I knew they were perfect for this challenge.

So, with out further ado, here is my page!
The three colors I used from the palette are Nectarine, Tender Sprout, and Dusk Blue, and as you can see, I  didn't really alter the sketch much. It worked perfectly for these pictures, so I just stuck with it.

(Also, I literally just finished this page 5 minutes ago, so on the up close pictures, ignore the white in the button holes. It's glue that is still wet, but will dry clear. I got a little impatient and was ready to post it A.S.A.P., lol.)


Monday, January 16, 2012

Video Producer

Well, I've finally completed another 2page spread for my Centrikid Album from my summer working camp in 2011. This is my VP page, or Video Producer, which is the position I held.

 full pg view

 
pg 1
sorry this one is sideways, but i dont feel like going and rotating it. so... you can still see it well enough

pg 2

This page is really very simple.
 The letters are from the Cricut Cart. George and Basic Shapes. I did the shadow letters, planning on putting the regular in another color on top of them, but i decided I liked the look of just the shadow letters. It gave it an artistic look.

The film strips are just negatives from some old pictures I had developed years ago, and I knew that I wouldn't ever need them. And they were just what I needed. :)

The orange DVD is one of the actual DVDs that I used from camp to make the camp DVDs that we sold to the churches.
The sticky note is one that I kept on my computer all summer as a reminder. It was something that everyone laughed at and made a comment about when they saw it, so I had decided to keep it. And of course, it adds something personal and sentimental to the page, so there it is.

 As you can probably tell, this is just purple marker on white paper mounted on purple paper.
P.S. in case you were wondering, this tip comes from my personal experience from week 2 of camp.

-Kelsey

Monday, November 7, 2011

Wedding #2 - Cut the Cake

So here is the second spread for my brothers wedding. These pages are quite as fancy as the first, but I wasn't trying to make it fancy, because I don't have enough fancy embellishments. Lol. But I still made it match.


 The cake and the circle with the heart, and the heart in the middle of the paper flower came from a soft spoken wedding embellishment pack.
 These letters came from Once Upon A Princess Cricut Cartridge.
 Sweethearts Cricut Cartridge.
 A Wedding chipboard package.
The heart with the couple came from Sweethearts Cartridge. The ribbon is some dollar ribbon from Michaels. The tiny heart came from the heart cutout on the "Mr.&Mrs." The "these are the moments" came from a Family and Friends vellum quote stack.

--Kelsey S.

Sunday, November 6, 2011

Wedding Day!

So, my brother got married on October 15. It was pretty exciting. So now I have a new Sil. :) Sister-in-law. Well, I guess it's no surprise that I'm working on scrapbooking the wedding.
So, I've completed the first page spread. Details and pictures below.


 Not sure how good it shows up in the picture, but the flowery design on the white paper is all glittery.


Okay, time for some close ups and details on how I made it.
 There really isn't much to it. The letters for the names came from the Gypsy Font Cricut Cartridge. I used the Gypsy to weld the letters together.
The brackets came from George and Basic Shapes.
The numbers for the date came from Printing Press 101.
 The flowers are paper flowers that I layered together. A French Vanilla on bottom, purple in the middle, and a small french vanilla on top. And I used a "Page Pebbles" letter sticker for the middle. I used the letters B, W, and S for Brent, Whitney, and Sneed, which is their last name.
The "Together Forever" tag came from a package of Wedding themed glitter die cuts that I got from Scrapbuck.com.

I thought it turned out pretty good, considering I had no idea what I wanted it t look like in my head before I started. I'll post the rest of the pages from the wedding as I complete them, however long that may take.

Let me know what you think!! :)
-Kelsey S.

Tuesday, October 11, 2011

Circle, Dot, Spot

In 2008, my friends and I had what was called a Christmas-Sleep Over-Game Night-Extravaganza. It combined those 3 things with a group of our closet friends and was a total blast. So I scrapbooked it.

This layout features lots and lots of circles. The left page has circles already on the paper, so I took it and ran with. Did I over do it? Maybe a little. But oh well. It's definitely something different, and it looks fun and colorful.

And of course, the fact that Stamp, Scrap & Doodle Saturdays is having a challenge that has to do with anything round or circular, this was perfect!! So I am entering this layout into that challenge.


Hope you like it!

--Kelsey S.

Painting

I helped my friend Rachel repaint a room in her house. The color was pretty blah, a neutral so that it would match just about anything, so we had to make it fun!! We definitely had a blast playing music and inevitably painting each other.

This is a 2-page layout. I used lots of bright colors for the paint splats, which i just drew onto paper and cut out. Then I used coordinating markers or color pencils to draw in the smaller splatters around the big ones, and I used Jolee's embellishments for the paint brushes and paint can. Below are a full 2-page picture, and individual of each, and few close ups of the embellishments.

I am also entering this layout into the C.R.A.F.T. Challenge, which is to use Bright Colors.
As well as Make It Monday, for Anything Goes.


Hope you like it!! Let me know what ya think!

--Kelsey S.

Bats Bats Bats!

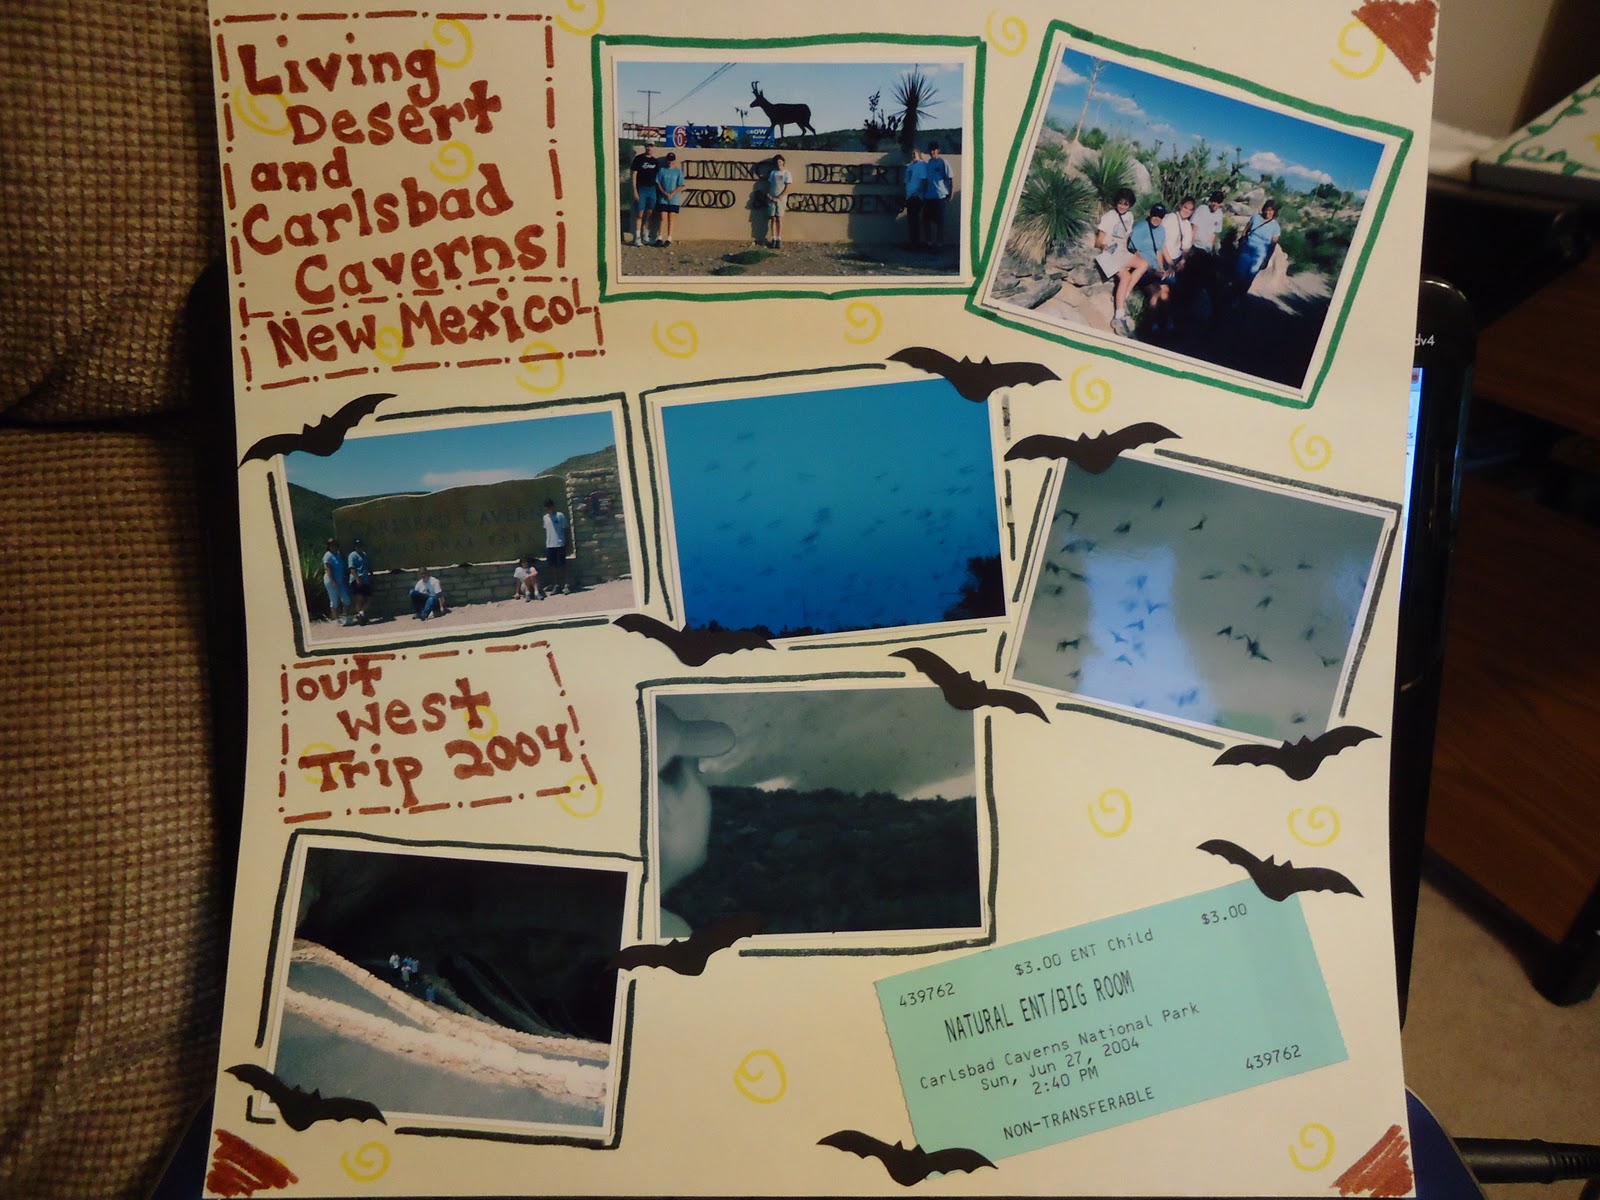
Several years ago in 2004 my family and I went on a road trip "Out West," as we like to call it. We visited several different sight seeing places and National Parks. One of the places we visited was Carlsbad Caverns, in New Mexico. Every night, like clock work, the bats come out right about the same time. You can be there to watch them all fly up out of the cavern. It was a steady stream of them for at least 10 minutes, even longer than I that I think. It was quite a unique experience.

Below is the page with the layout I made. For embellishments, I made bats and cut out several, and I also added the admissions ticket.... who knew you could make money off of a bunch of bats and their life style??? lol.

Anyway, I also am entering this layout into the City Crafter Challenge Blog Contest, which is to make a layout using primarily the colors Cream and Black. As you can see, my paper is Cream, and my bats are Black. Aside from the pictures, that is pretty much all I used, so I think that this is considered a primarily Cream and Black layout. :)


 Hope you like it!!

-Kelsey S.

Sunday, October 2, 2011

10-Pin Bowling!!

Back in 08-09, during my freshman year of college, my friends and I took a bowling class. Yes, we got a school credit for going to a bowling alley and bowling a minimum of 3 games a day, 2 days a week. Talk about an easy A. :) Anyway, we had a blast, and of course, we took some pictures. So I made a scrapbook page of it.

Over at The Paper Trail Makers Challenge Blog, the first challenge of this month is to create something using 10 of something, or anything! So, I used 10 bowling pins. (Actually, I accidentally put 11. I guess I got carried away. But there is still at least 10! So it still counts, right?)

Anyway, here is a full page view, as always, and then a close up. I probably don't need to point this out to you, because as you can see, I went with all hand made embellishments. I didn't use my Cricut at all... so... sorry that it's a little bit messy looking... I probably should have taken a little more time on it.... but oh well... It still works.

Everything is made with paper, markers, scissors, and I sketched out one pin and one ball, and then traced them for as many as I needed.

Hope you like it! :)

--Kelsey S.

Tuesday, September 20, 2011

Daddy's Little Helper

The challenge at The Paper Trail Makers Challenge blog this week is to use one of the 2 pictures they posted for inspiration. Mine has a little bit of inspiration from both. The colors, while not exactly the same, came from the first picture. The red really stood out to me, and so my page has a lot of red. I tried to make the red in the pictured stand out more by choosing embellishments and papers that complimented it.
 And then, in the second picture, the wall art is in a college formation. My pages usually have a grid like formation, or a very structured, uniform look. So I went for a college layout this time, using different size pictures.

About the layout:
My dad is an architect, and so he started building on to our house back in 1988, before I was even born. This page is a little collection of my older brother when he was about 2 1/2 years old, in 1990, 'helping' my dad while he was working on the house. He had gotten a little red plastic wheel barrow and shovel along with some other tools, so he liked to follow dad around and imitate him. As you'll see in the little quote I put on the page, he would do something like dad would have done it, then he would say, "That's how daddy do it." ... I know this because of video we have from the time.

Actually that is where these pictures came from. I couldn't find any pictures from then, or if we did have any, my mom would want them to do her own pages, so I recorded the video from the VHS to a DVR HDD harddrive thing, then burned it onto a DVD from the DVR, and then I put the DVD on my computer and took still shots of what I wanted. So the quality turned out pretty good considering where the pictures came from.

I've got six pictures, in 2 different sizes. And I went with a collage looking layout. I just sort of pieced them together.  The title letters came from Cuttin' Up Cricut Cartidge.


This is a close up of the wheel barrow and shovel, both of which came from the Freshly Picked Cricut Cartridge, cut out at 2". For the dirt, I took a piece of  brown scrap paper and wadded it up several times to get it wrinkly. I sort of rolled it over in half... basically folded it but didn't crease it so that it would keep it's dimension. Then cut a slit in the edge of it to tuck the tip of the shovel in so it looks like it's stuck in the dirt. Then glues it down. Simple as that.


This is a close up of the tape measure. I drew the cover of it onto yellow foam and cut it out. Then I had some yellow ribbon. If cut in half, it was a good width to match the size of the cover, but it was too small to write on. So I cut it in half at one end and cut at an angle to gradually make it bigger until it was full width so I could write on it. Then I made it have a little wrinkle in it so that it sort of looks like it's getting closer, that way the ribbon had a logical reason to be wider that it started out. lol.

Well, that's that for this page. Hope you like it. :)
-Kelsey S.

Wednesday, September 7, 2011

Let's Go Vintage

So... I've been trying to think of something to scrapbook. And I went and visited The Paper Trail Makers Challenge Blog, and I saw that their new challenge was Vintage.  I thought I would give it a try, even though I really have no idea how to pull of vintage. And once I got started, it was even more difficult because I realized that since I don't really think in a vintage way, I had no embellishments really to go with 'vintage.' So I had to improvise a little. Anyway, as always, there is the finished product picture, and then some close ups with explanations. This is only a one page spread.

So, when I thought vintage, I thought, PhotoBooth!! I love photobooths, even though I have only ever done it once. And it didn't even come out in the vintage strips, it came out with a colorful frame and stuff. Which is cool. But I kinda wanted it in the old timey strips just for the vintage look. So I was having some fun with my pictures and made some photo booth strips. Each one features 4 of my favorite pictures of me and one of best friends. Brittany (who is actually my sister), Emily, Kimberly, and Talia.

I found some bead-trimmed ribbon once at the dollar store and got a couple different colors because I thought it would be cool to use on a page. This is actually the first time I've used it! So that is what that yellow ribbon with beads is. Typically it's used on a lamp shade or something.
The word 'friends' and 'smile' was cut using the Designer's Calendar Cricut Cartidge. I cut them out on white paper, and used stamp ink pads to color them. 'Friends' as well as the corner pieces at the top, which came from Story Book Cricut Cartridge, are a red color with a golden yellow color on top, resembling a faux finish texture. The 'smile' is light blue and a light turquoise, with a golden color on top for the same effect.

This is something I pieced together. The big swirly heart came from the Sweethearts Cricut Cartidge. And the little hearts came from Cricut Sampler Cartidge.. They had the word Love in the middle, but I cut it out because I needed only the heart. Then I glued them together over lapping, and used a sponge to paint it brown for a textured look.

There are also the two flowers that I didn't take a close up picture of. They were from the Serenade Cartidge, and I used the golden yellow stamp coloring on one of the layers for each to give it a little texture and help it look a little Vintage, and to soften the colors a little so they weren't too bold against everything else. Oh, and I popped them up with some foam squares on the back to add dimension.

And then I went back and used some yellow glitter glue to add some dots along the edges of the picture strips in various places just to give it a little something extra.

It's not totally vintage, but I did my best with what I have. And of course, being a broke college student, I can't afford to go out and buy a bunch of vintage stuff, especially since I probably won't use it much. Vintage isn't really my style. But I hope you like it. Leave some feed back if you want.

Kelsey S.

Tuesday, March 22, 2011

Going Places

Hey guys! So the other day, I had a craft night with some of my friends, and we all just hung out and worked on our own little projects. Well, I have 3 different scrapbooks right now holding all of my pages, and I had decided to organize them So one if for pages from school events or things that happened at school, one is for traveling and trips/vacations that I've been on, and one if for all the other events that don't fall under one of those categories.

So on the front of the travel book, there is a slip for a photo. So I've been meaning to make something to put in there to help label it as a travel scrapbook.
Sugar Sweet Paper Treats March Challenge just happened to work perfectly for this particular craft, which made making it all the more enjoyable. Because I don't make something FOR the challenge, I only enter a challenge if I already have something I'm making that meets the requirements. I can't afford all the materials to make something specifically for the challenges all the time.


So in this challenge, the only requirement was that I use a Cricut cartridge that I've never used before. And so I did. I used the Going Places cartridge, which was perfect for a little travel... thing... I don't really know what it's called... any way, so here it is!

The coloring is a little off. My camera was acting up for some reason and wouldn't take a good picture. But anyway, it's still pretty close. I think it turned out pretty good, if I may say so myself.

Wednesday, March 16, 2011

Camping

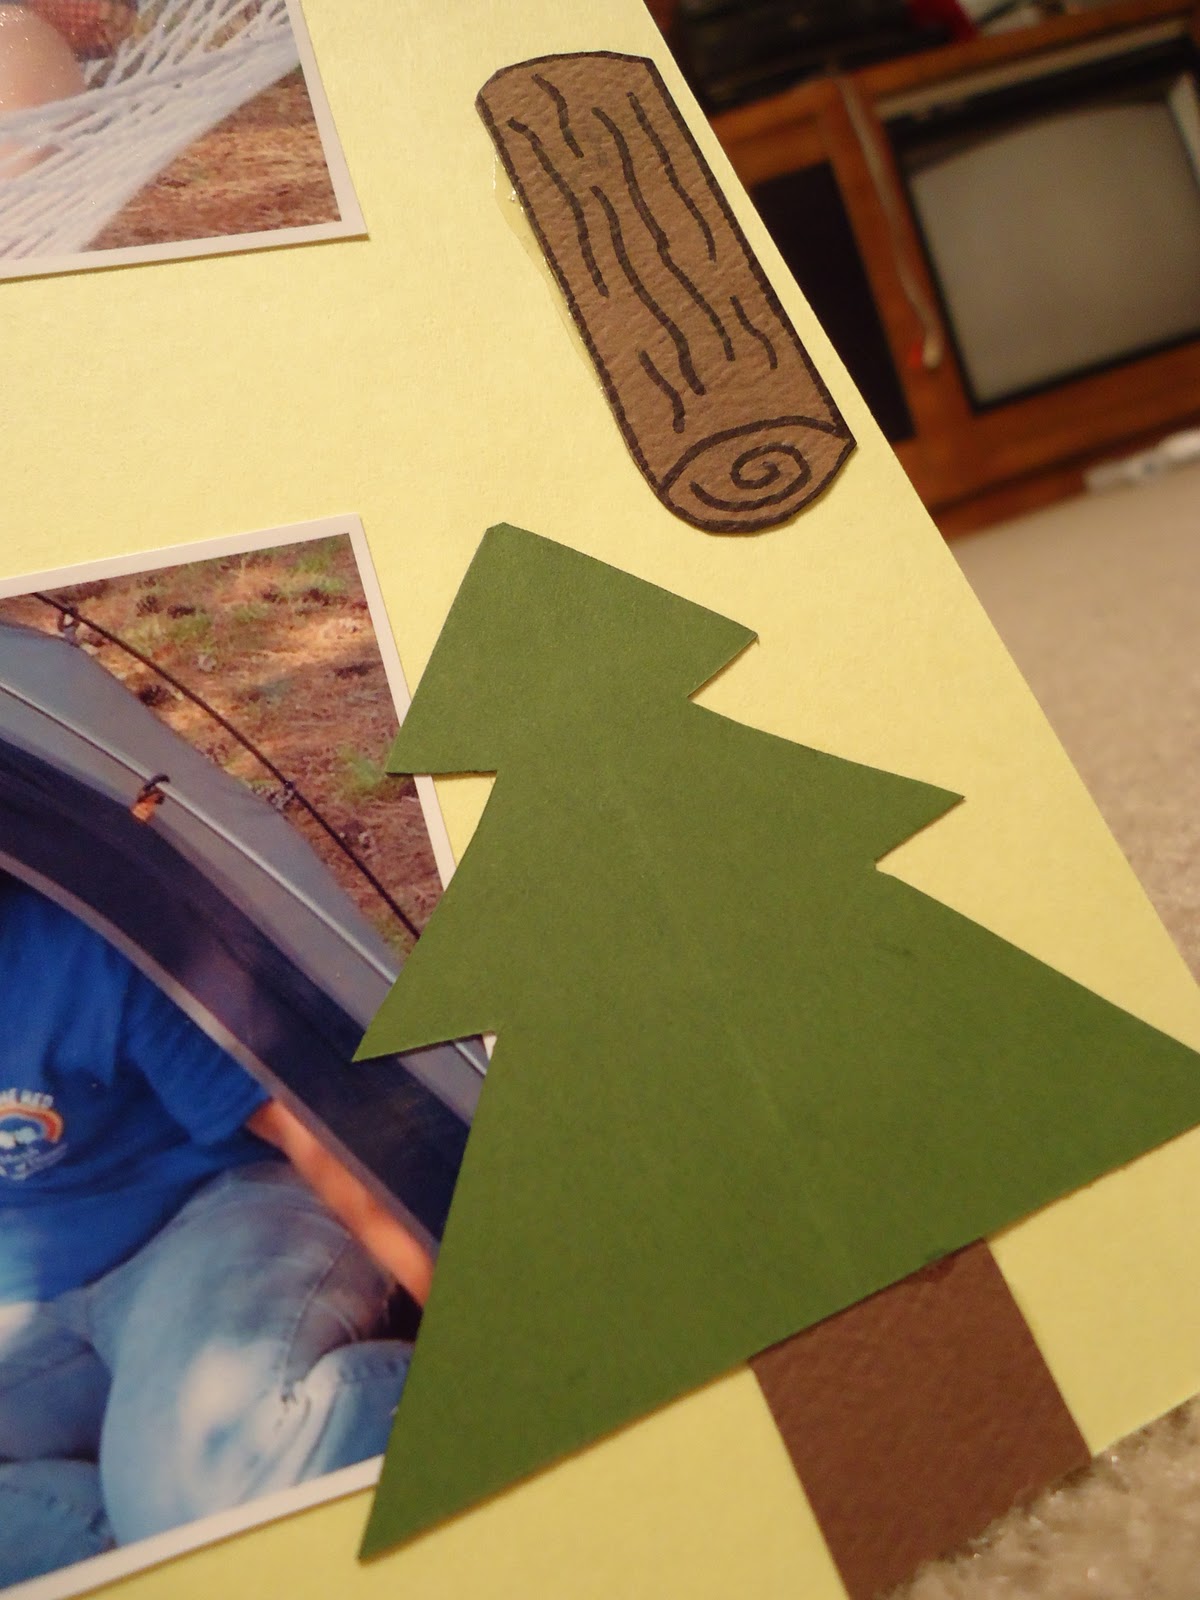
Okay. Now for the page. This one is from a family camping vacation. All the embellishments I made by hand drawing them and cutting them out and gluing them together, except there is one sticker that I used. But it's supposed to look very simple and very homemade. Kinda rustic I guess, like camping. So I hope you like it.