Here is what my finished project looks like, and the step by step details are below:

Supplies:
Canvas
Comic book pages/comic strips/newspaper
paint and brush
water color paints
modpodge/clear acrylic sealer spray
temporary adhesive
scissors
Step 1: Find your comics or newspaper. Either will be fine, but since I did a cartoon character, I thought it would look really cool if I found comics of that character. So I just looked online and googled it and found some and printed them out.

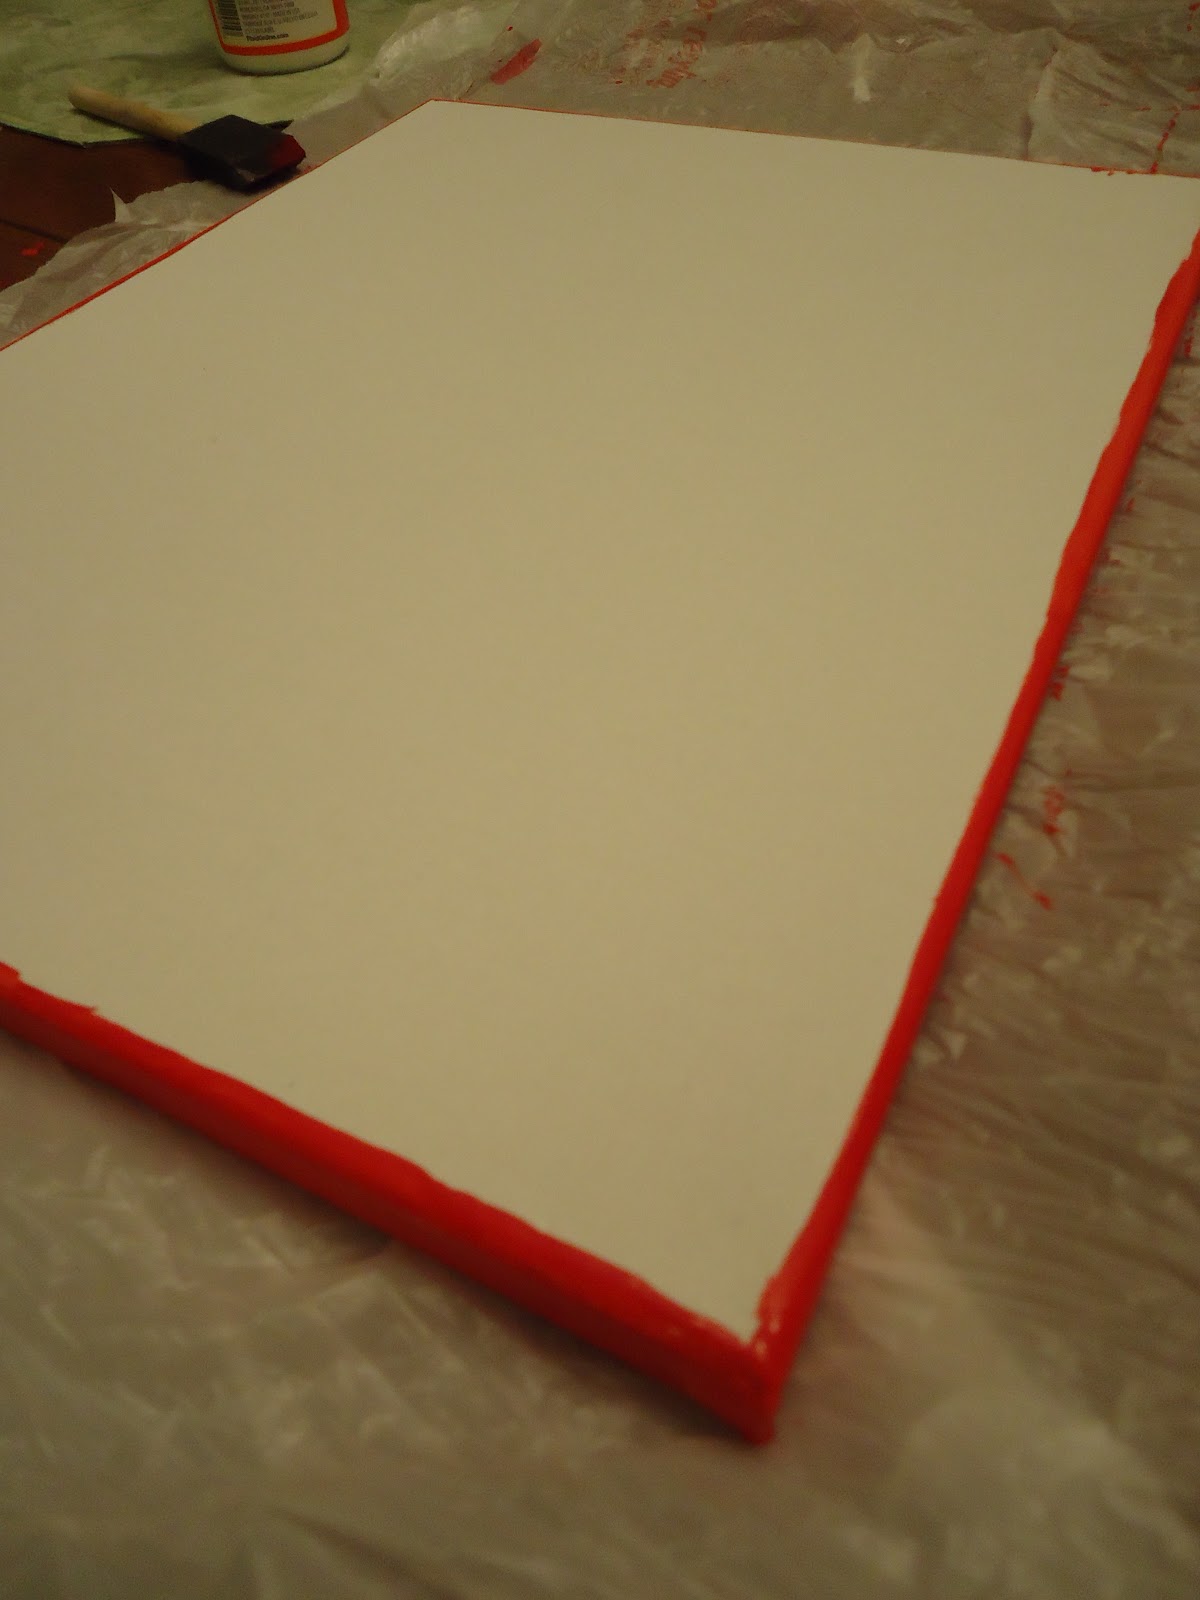
Step 2: Choose a coordinating color that matches your character and paint the edges of your canvas, and a small border on top. Red is very closely associated with Mickey, so I chose red. In this picture there isn't really much or a border on top, but like i said, I was experimenting, and I realized later I needed more of a border, so it got added after the picture was taken... probably 1/2 inch should be fine.
Step 3: Glue down the comics/newspaper. Make sure all the edges are glued down well and there are no wrinkles. I didn't make sure all the corners were glued down so after I painted they started curling up. So you're gonna wanna make sure that it's glued down well.

*****I found out that my plans of modpodging over the whole thing when I was finished wouldn't work because the ink from the paper mixed with the modpodge and left a blue haze over the comics. So I suggest testing it out in a corner first to make sure this won't happen before you modpodge your entire canvas. It doesn't show up as much in the picture as it does in person, but I just wanted to give you a heads up.

Step 4: Find the character that you want and print out 2 copies, and cut one out. You'll need the second copy later. Make sure it's the right size you want. I ended up blowing Mickey up so that he was on 2 pages because he wasn't big enough on just the one page.

Step 5: I used this ZIG glue pen (in picture), but if you have any temporary adhesive you'll want to use that. You need to put the adhesive on the back of your character, make sure you get all the edges very well, especially at inverted and exverted corners, and any small skinny parts sticking off the main character (like Mickey's tail). If you don't, I have pictures below of what might happen that you'll want to avoid.
For this glue, it's very wet when you apply it, but if you let it dry for about 10 minutes, it's becomes tacky enough to keep the paper in place, but isn't too sticky and can be pulled up later with out any problem.

Step 6: Position your character on the canvas and make sure all the edges are stuck down well. Then use black paint (or if you want to use another color) to paint your canvas. On the edges of your character, make sure that you stroke from the middle out, so that you don't accidentally push any excess paint up under the edge. We want crisp edges.


Once the whole canvas is painted, allow it to dry, and then peel off your character. It should look like this!!

******Here are the pictures of what will happen if the edges aren't glues down good enough or if your brush strokes go from the canvas onto the character, rather from the character onto the canvas.


So watch out for that!!
Step 7: Time to fill in the lines to define your character. Here is where you need the 2nd copy, unless you're are really good at free handing or are very artistic, you might need to use the light..But otherwise You also need a very bright light/lamp to put behind the canvas. Line up the paper with the painted outline, and I used sharpie pen to trace the lines. You can use pencil or pen or whatever. Try to be accurate. Then go back and paint over it.


So you should have something like this now.

Step 8: I decided that i wanted to add a little color, so I used water color paints to color it in, that way the comics can still be seen.


Stap 9: And then since I wasn't able to modpodge it, I used clear acrylic sealer spray to coat it to give that finished glossy look :)

Let it dry and you're done!!
Too see all the characters I made, click here. (Other Characters are Minnie, Donald, Daisy, Pluto and Goofy)
No comments:
Post a Comment